Asset Creator Styling
Asset Studio styling is layered. Text defines the glyphs and layout, Fill builds the front face, then 3D, Outline and Shadow add depth and separation.
Text
The Text category controls the content and structure of the asset before visual styling is added. Typography chooses the text, font and weight; Layout controls orientation and spacing; Lettering, Global Fade and Glyph Shape add more stylized variations.
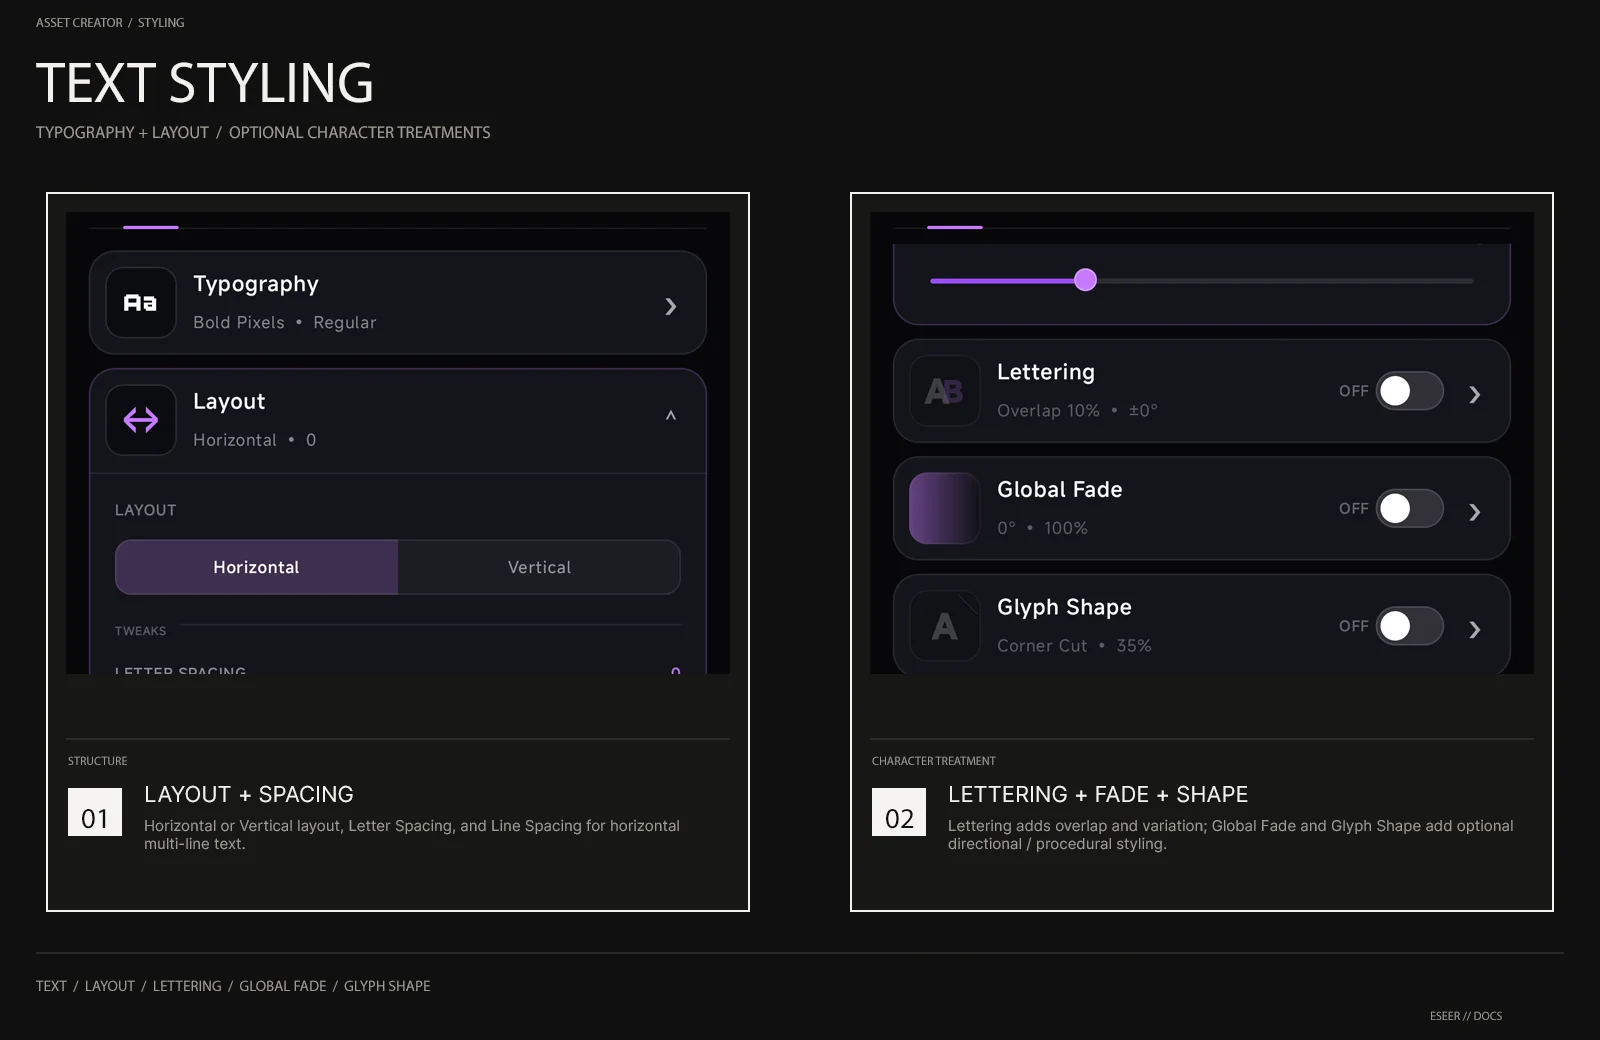
| Control | Range / options | Behavior |
|---|---|---|
| Font weight | Regular · Medium · Bold | Selects the available font weight |
| Layout | Horizontal · Vertical | Changes how characters are arranged |
| Letter Spacing | -20 → +50 | Adjusts tracking between characters |
| Line Spacing | 0.70× → 2.00× | Shown for horizontal multi-line text |
| Lettering | Stacking · Seed · Overlap · Rotation · Size Variation | Introduces controlled per-character overlap and variation |
| Global Fade | Amount 0–100% · Angle -180° → +180° | Applies a directional fade across the whole text asset |
| Glyph Shape | Cut / Extend · Amount · Size · Seed | Procedurally changes the glyph shape using a repeatable seed |
Fill
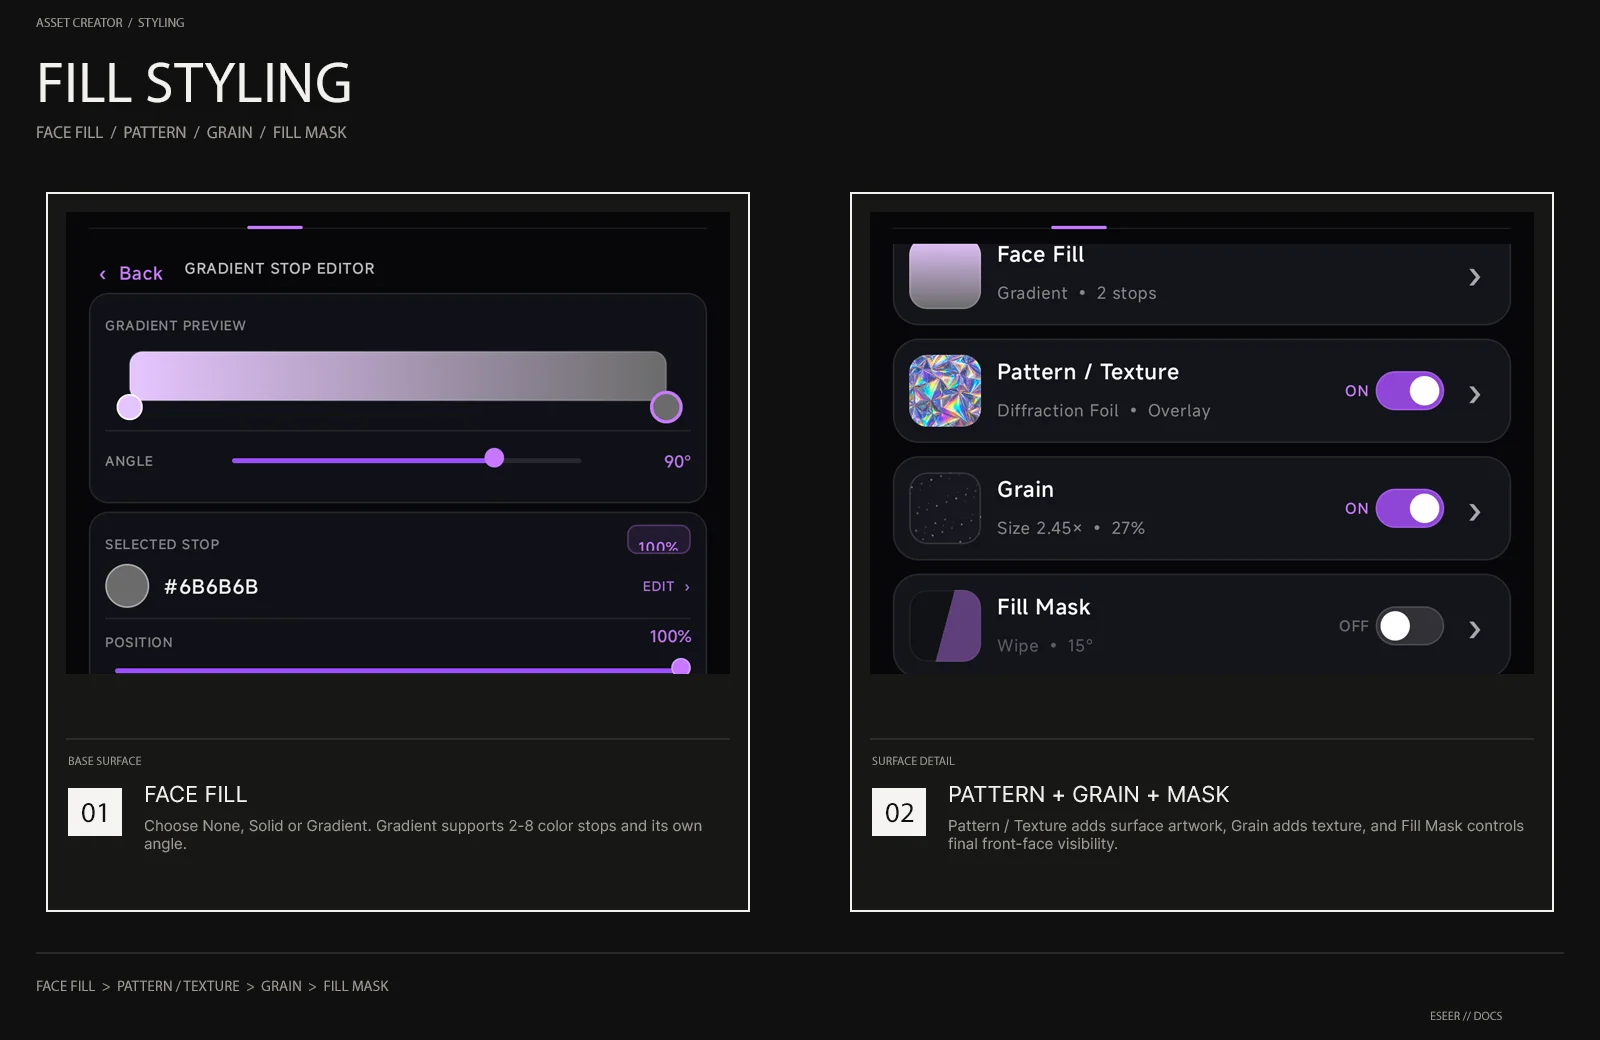
The Fill category builds the visible front face of the glyphs in a fixed order: Face Fill → Pattern / Texture → Grain → Fill Mask.
| Feature | Options / range |
|---|---|
| Face Fill | None · Solid · Gradient |
| Gradient stops | 2 → 8 stops + angle |
| Pattern source | Built-in pattern or imported Texture |
| Pattern blend | Normal · Multiply · Screen · Overlay · Soft Light · Add |
| Pattern opacity | 0 → 100% |
| Pattern scale | 0.35× → 3.00× |
| Pattern rotation | -180° → +180° |
| Grain amount | 0 → 100% |
| Grain size | 0.50× → 3.00× |
| Fill Mask | Wipe / Band · Invert · Angle · Position · Width for Band |
The procedural built-in pattern set includes Dots, Diagonal Lines, Grid and Speckle. You can also import your own texture.
3D Projection and Bevel
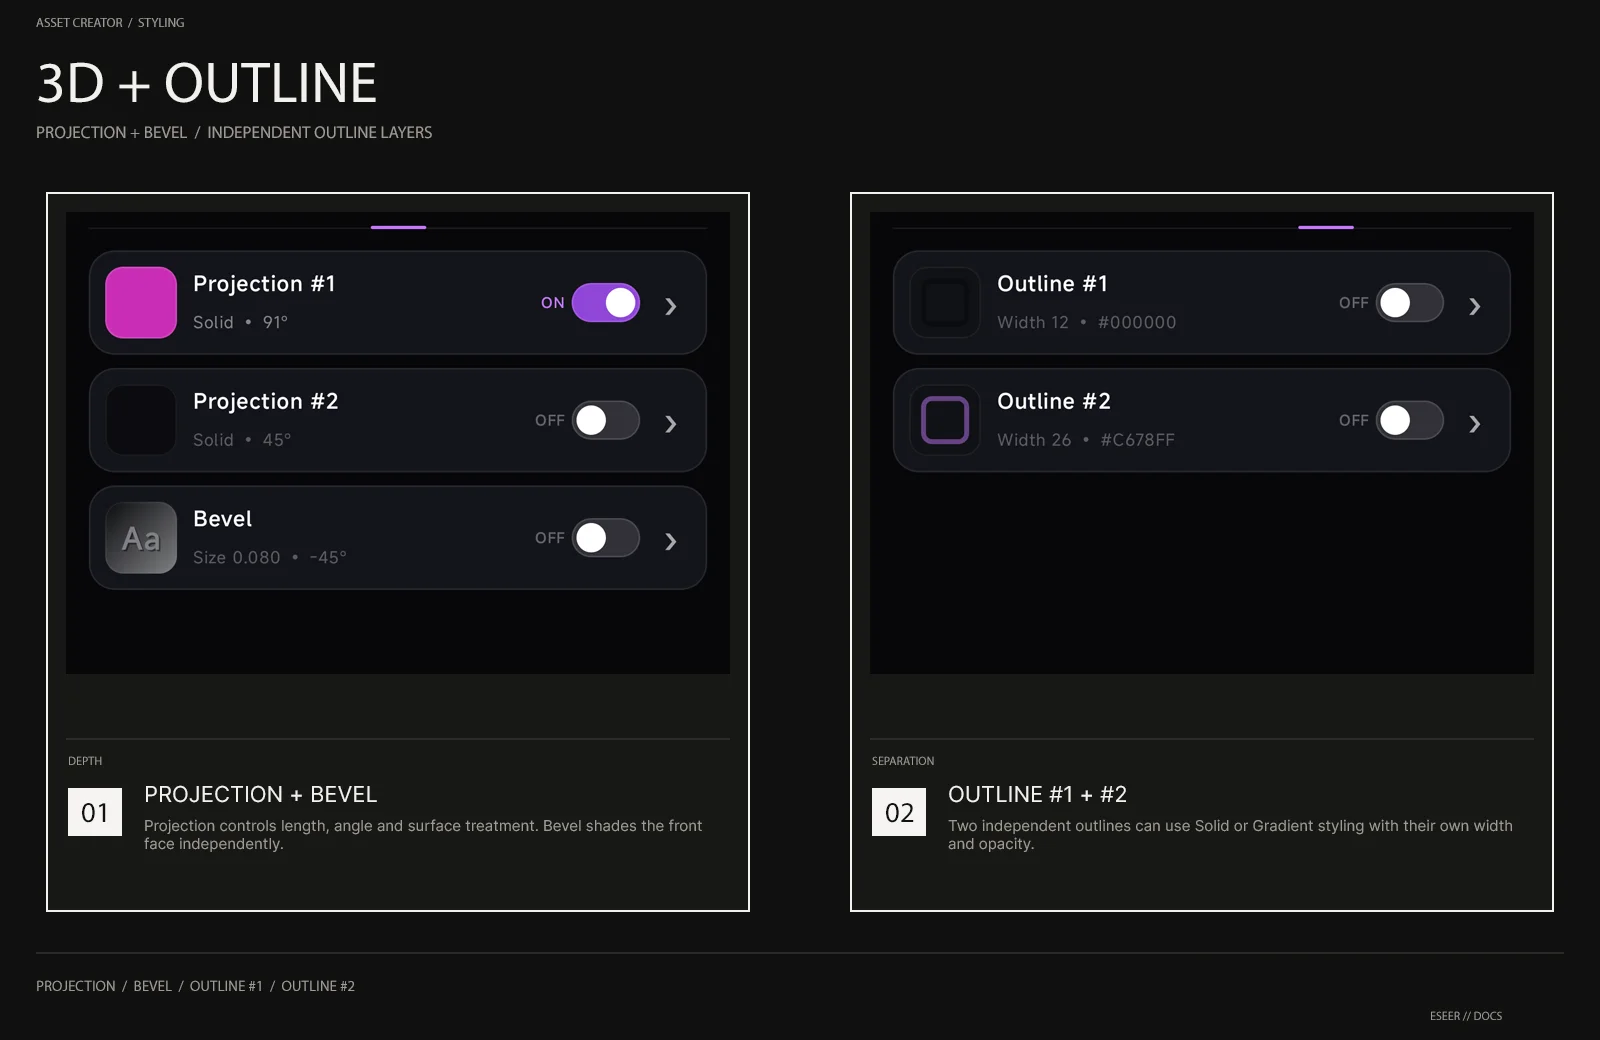
The 3D category contains two independent Projection layers plus Bevel. Projection extends the glyph in a chosen direction; Bevel shades the front face to create a raised or inset edge impression.
| Projection control | Range / options |
|---|---|
| Projection layers | Projection #1 · Projection #2 |
| Length | 0 → 180 displayed units |
| Angle | -180° → +180° |
| Color style | Solid · Gradient |
| Opacity | 0 → 100% |
| Projection Outline | On / Off · Color · Width · Opacity |
| Surface Lighting | On / Off · Light Angle · Strength |
| Bevel control | Range |
|---|---|
| Highlight / Shadow | Independent colors |
| Size | 0.01 em → 0.25 em |
| Strength | 0 → 100% |
| Light Angle | -180° → +180° |
Outline
Asset Studio provides Outline #1 and Outline #2. Both can be enabled independently, making it possible to combine a narrow inner-looking edge with a much thicker outer treatment.
| Control | Range / options |
|---|---|
| Style | Solid · Gradient |
| Width | 0 → 64 displayed units |
| Opacity | 0 → 100% |
| Gradient | Multi-stop gradient editor when Gradient is selected |
Outer and Inner Shadow
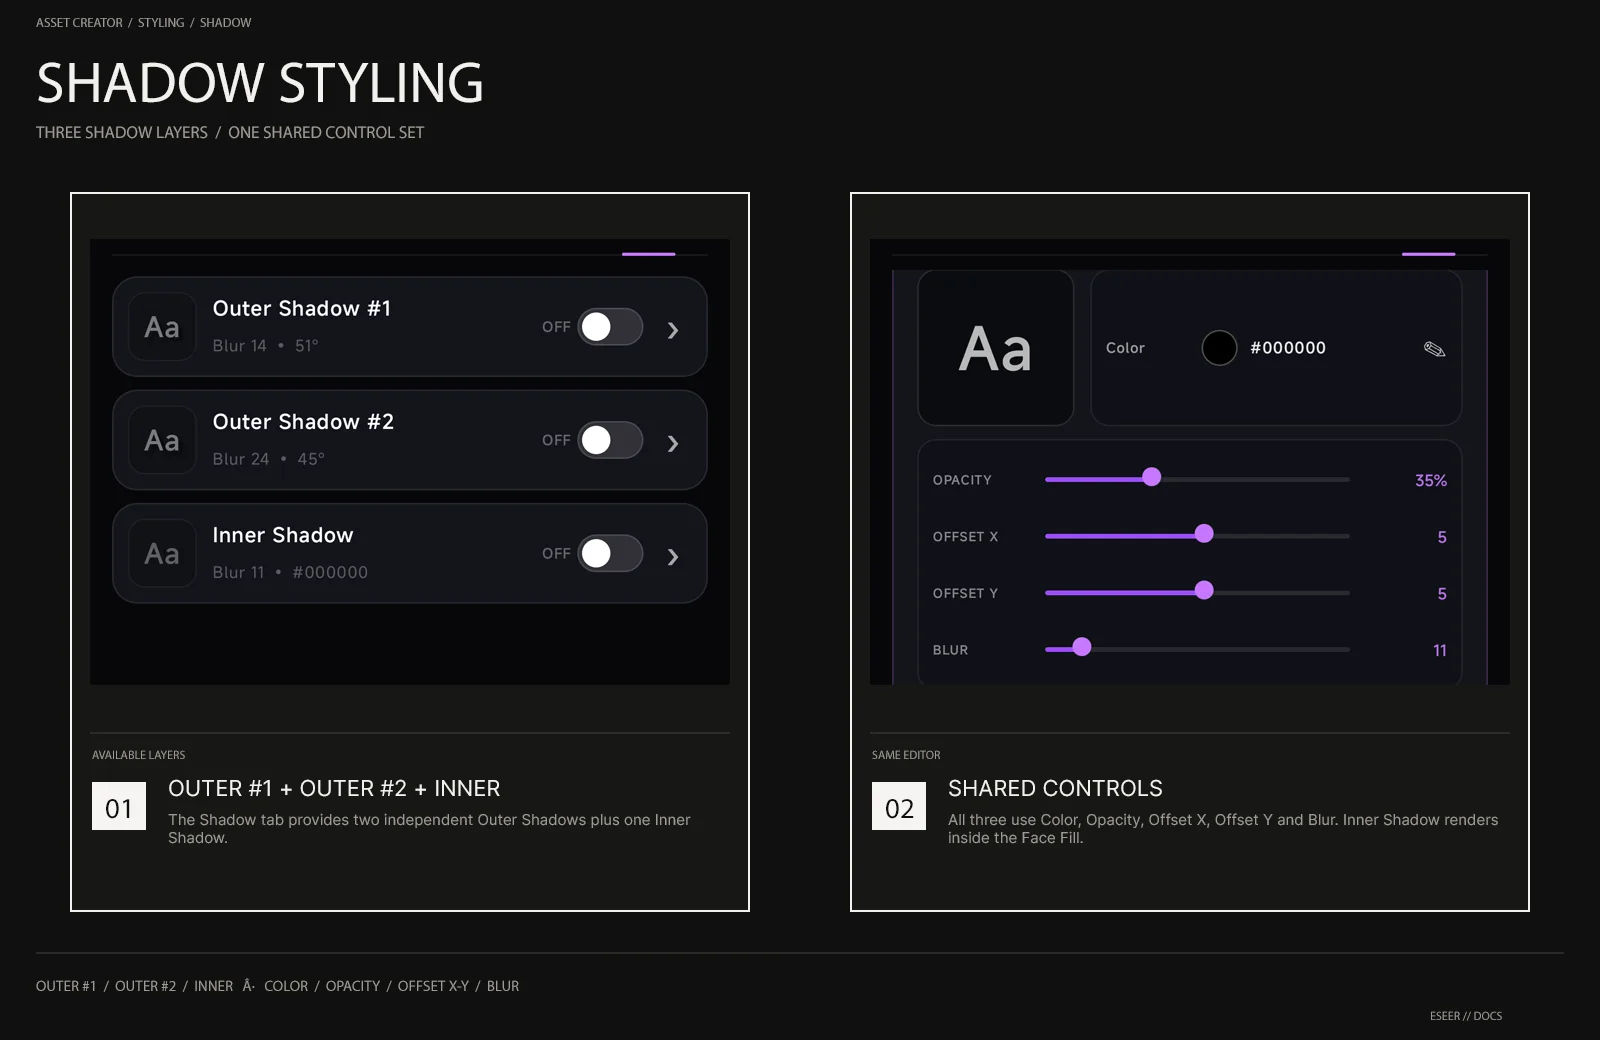
The Shadow category contains Outer Shadow #1, Outer Shadow #2 and Inner Shadow. Outer shadows extend outside the glyph. Inner Shadow shades inside the visible front face and therefore requires Face Fill to be enabled.
| Control | Range |
|---|---|
| Color | Color picker |
| Opacity | 0 → 100% |
| Offset X | -130 → +130 displayed units |
| Offset Y | -130 → +130 displayed units |
| Blur | 0 → 90 displayed units |
Styling workflow
Start with readable typography
Choose the text, font, weight and layout before building heavy surface effects.
Build the front face
Set Face Fill first, then add Pattern / Texture, Grain or Fill Mask only when they improve the result.
Add separation
Use Projection, Outline, Bevel and Shadow to create depth and contrast around the text.
Check multiple preview backgrounds
A style that looks clean on Dark Grid can expose unwanted edges or weak contrast on White, Black or the wallpaper Context.