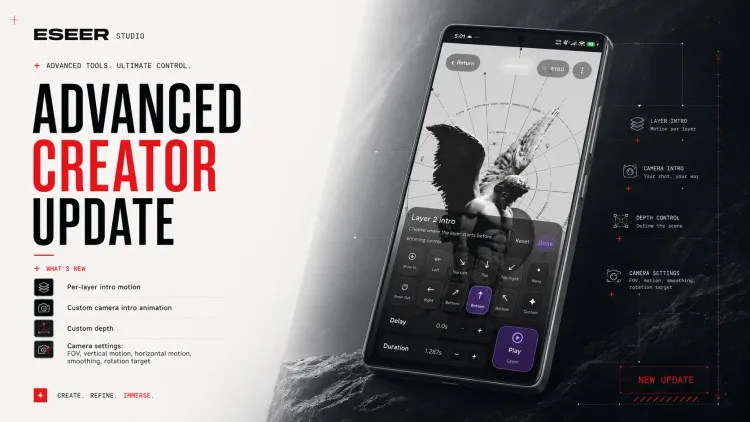
The first version of the ESEER 3D Live Wallpaper Creator made it possible to build layered wallpapers directly on Android.
For me, that update was also a fairly important UX exercise. A phone screen doesn’t leave much room for a real-time preview, layer controls, camera settings and animation tools. I wanted to add useful controls without turning the creator into a wall of sliders.
Version 1.2.00 continues that work with the new Advanced Creator.
It brings the Android creator closer to the desktop ESEER wallpaper editor, while keeping the faster Simple mode available when you don’t need precise control over every value.
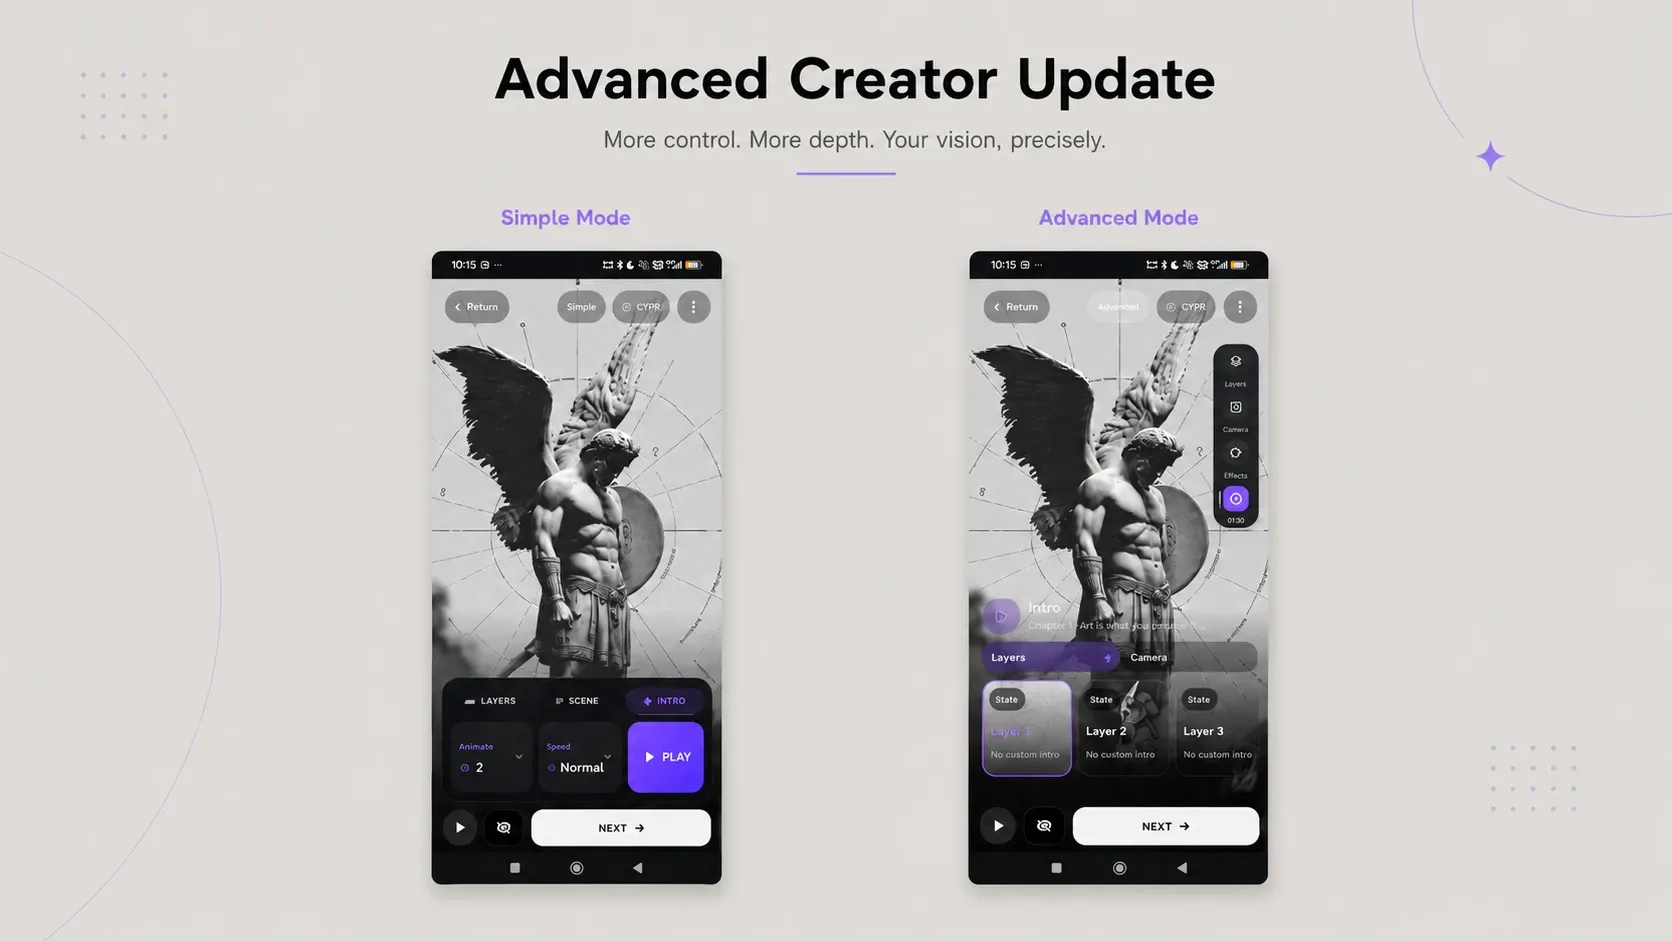
Simple when you want it, advanced when you need it
Advanced mode changes the creator interface to give you more direct control over the individual parts of your 3D scene:
- the position and depth of each layer;
- the camera’s field of view and movement;
- the point around which the camera moves;
- motion smoothing;
- individual layer intro animations;
- a separate camera intro animation.
- switch simple / advanced anytime
The real-time preview stays visible while you make changes, so you can immediately see how the wallpaper reacts to gyroscope motion or touch motion.
You don’t need to use Advanced mode for every wallpaper. Simple mode is still useful for quickly importing layers, arranging a scene and choosing a depth preset. Advanced mode is there when those presets are no longer enough.
Place each layer at the right depth
A layered wallpaper usually contains a background, one or more midground elements, and a foreground. The distance between those layers is what creates the parallax effect when you tilt your phone.
Simple mode automatically distributes that depth for you. In Advanced mode, each layer can be moved manually along the Z axis.
This is useful when one element needs to feel much closer to the camera, or when a scene contains several objects that shouldn’t all follow the same depth spacing.
For example, you can keep a distant sky almost static, place a character near the centre of the scene, and bring leaves or particles much closer to the camera. The foreground elements will then react more strongly to camera movement.
It also gives you more freedom with less conventional wallpapers, such as repeating patterns, abstract compositions or scenes that aren’t built around a traditional foreground and background.
Control how the camera moves
Most of the new settings are related to the camera because small camera changes can completely alter how a 3D live wallpaper feels.
Orbit target
The Orbit setting is probably the most important one.
It defines which layer acts as the central depth point for the camera movement. In most scenes, selecting a layer near the middle gives a balanced result.
Choosing a layer farther into the background increases the apparent movement of the layers in front of it. Choosing a layer closer to the camera does the opposite and can make the foreground feel more stable while the background shifts behind it.
There isn’t one correct value. It depends on what the wallpaper is supposed to focus on.
A portrait scene may work best when the camera movement is centred around the character. A landscape may feel better when the orbit target is placed deeper into the environment.
Field of view
The FOV, or field of view, controls how wide the camera can see.
A lower value feels more zoomed in, similar to a longer camera lens. A higher value creates a wider and more exaggerated perspective.
Increasing the FOV can reveal more of the scene, but it may also require you to readjust the scale of your layers to avoid empty space around the edges.
For most wallpapers, small changes are enough. Very high values can create an interesting distorted perspective, but they’re usually better suited to stylised or abstract scenes.
Horizontal and vertical motion
Motion X and Motion Y control how strongly the camera reacts on each axis.
By default, vertical movement is lower than horizontal movement. This is a personal design choice: I generally prefer wallpapers to move more from side to side, with less vertical travel.
That balance won’t fit every scene, though.
A repeating pattern may look better with identical horizontal and vertical motion. A wide landscape may benefit from stronger horizontal movement, while a tall composition could use more vertical movement.
Advanced mode lets you adjust both values separately instead of relying on a fixed motion profile.
Smoothing
The Smoothing control filters the camera movement received from the gyroscope.
With very little smoothing, the camera follows the sensor values more directly. The wallpaper feels responsive, but small hand movements and sensor noise may also become visible.
Higher smoothing reduces those micro-movements and gives the camera a softer, heavier response.
The right value depends on the scene. A mechanical or reactive wallpaper may benefit from sharper movement, while a calm landscape will generally look better with more smoothing.
The final result also depends on the quality and update rate of the phone’s motion sensors. On some devices, battery-saving modes can reduce sensor responsiveness, so the same wallpaper may feel slightly different between phones.
Build individual layer intro animations
In Simple mode, intro animations use predefined movement for the whole scene.
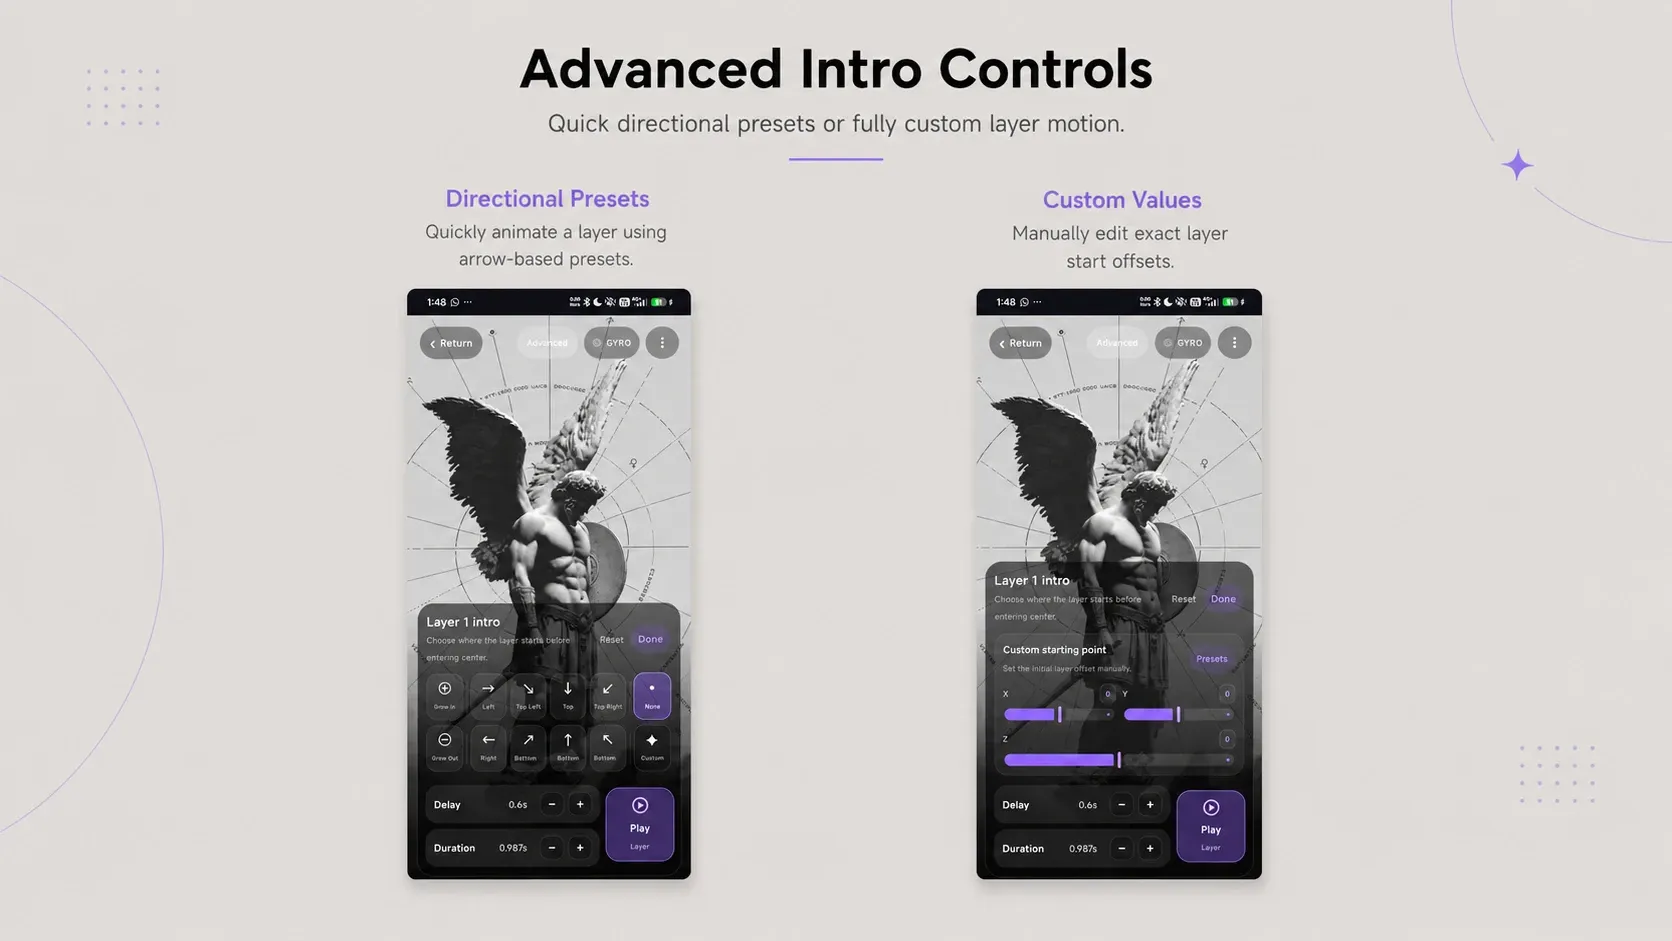
Advanced mode lets you configure the entry animation of each layer separately.
For example, you can tell one layer to:
Start outside the top-left corner, move into its final position, travel forward on the Z axis, and begin after a 0.5-second delay.
The main panel includes directional presets, represented by arrows, for quickly choosing where a layer enters from.
Suggested image: the directional preset grid.
Each layer also has its own delay and duration. This makes it possible to stagger the animation instead of moving every element at the same time.
A background can appear first, followed by the main subject, then smaller foreground details. Even a simple scene feels more deliberate when its elements don’t all enter together.
For more control, the Custom option lets you enter the starting X, Y and Z values directly.
The Z value can be used for more than a basic zoom. A layer can begin farther away and move towards its final depth, or start close to the camera and settle backwards into the scene.
Animate the camera separately
The camera intro uses the same general workflow.
You can start with one of the directional presets or enter custom camera values manually. The camera animation can then be combined with the individual layer animations.
This allows the scene and the camera to move together instead of being limited to one global preset.
For example, the camera can slowly move backwards while foreground elements enter from the sides, or it can begin slightly above the scene before settling on the main subject.
The goal isn’t to make every wallpaper use a complex intro. In many cases, a subtle camera movement with two or three delayed layers is more effective than having everything fly across the screen.
A redesigned wallpaper focus view
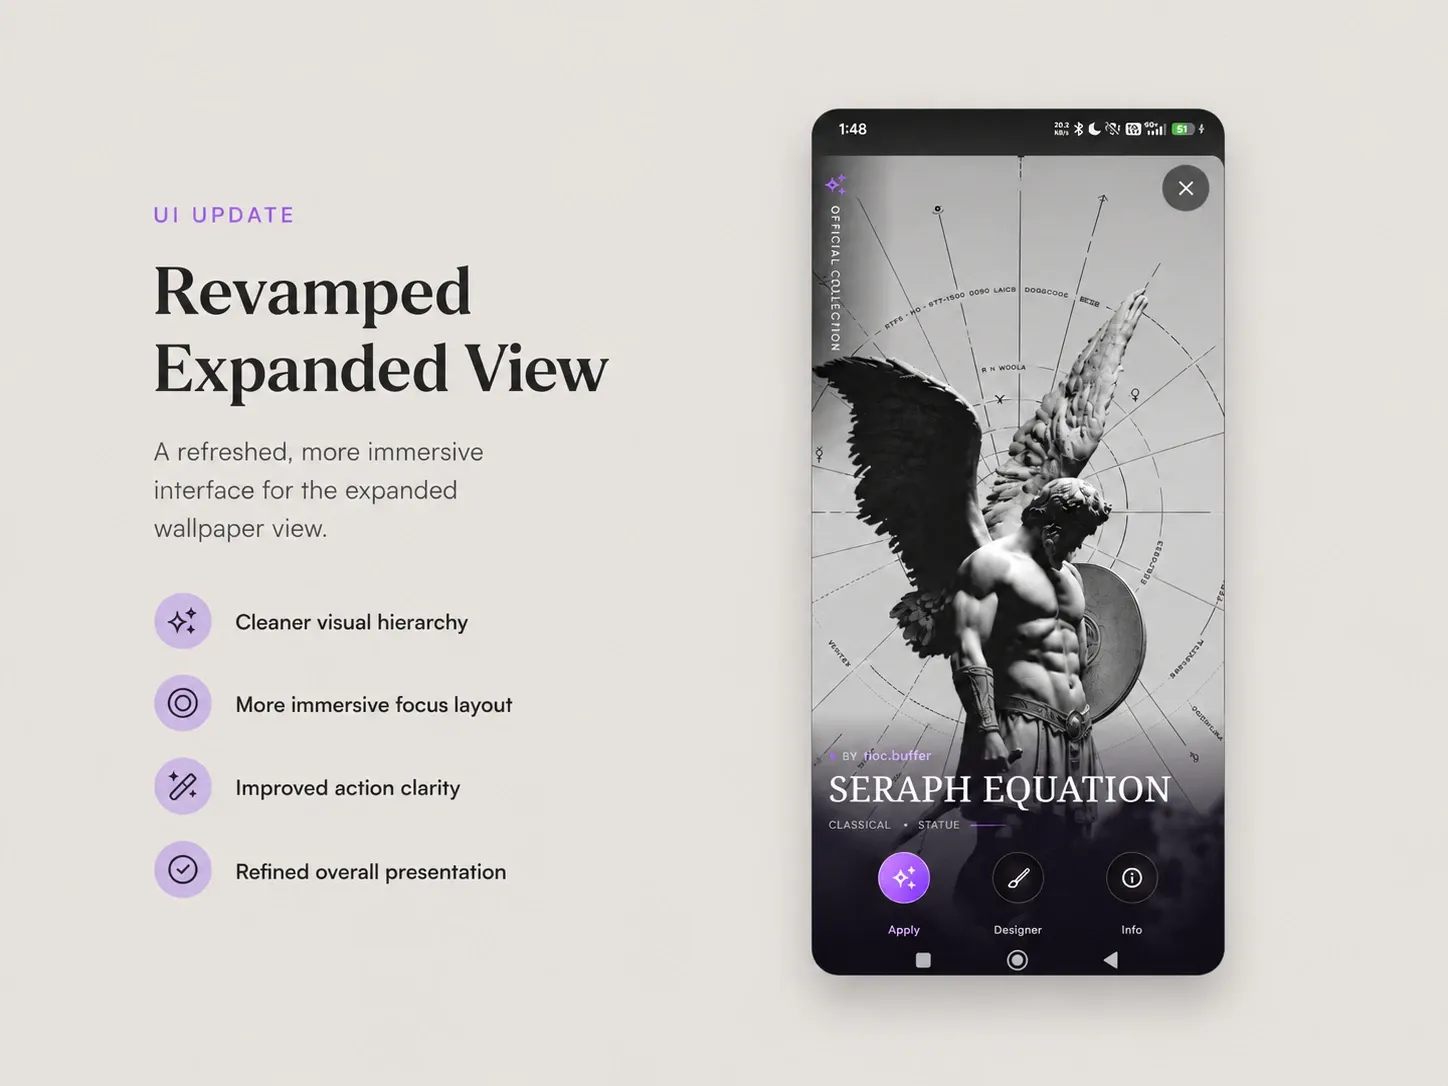
Version 1.2.00 also includes a complete redesign of the expanded wallpaper view in the gallery.
This is the screen that opens when you tap a wallpaper. It now gives the wallpaper more space, presents its actions more clearly, and provides a better place for information about the scene.
I had wanted to rework this view for quite a while. The previous version was one of the oldest parts of the app’s interface, and it no longer matched the rest of the creator and designer workflow.
I’m really happy with the new direction, and I hope it makes browsing and applying wallpapers feel more natural.
Smoother loading when opening a wallpaper
Some of the larger changes in this update aren’t directly visible.
The loading path between tapping a wallpaper in the carousel and opening its expanded view has been reworked. Previously, the OpenGL preview could occasionally appear before the scene was fully ready, causing the intro animation to begin with a few slow or uneven frames.
The app now waits for a more stable preview state before revealing the full scene.
It may sound like a small detail, but the beginning of an animation is usually where dropped frames are most noticeable. The goal is to make the wallpaper appear only when the renderer is actually ready to show it properly.
Still more to build
The Advanced Creator is an important step towards making the Android editor as capable as the desktop version, but it isn’t the end of the creator work.
I’m still looking at blending controls, more creation tools, additional animation options and better ways to manage reusable assets directly inside the app.
As always, I’m also interested in seeing what people build with these controls. Advanced settings can be difficult to design in isolation because the most useful workflows often become clear only when someone tries to create a scene I hadn’t anticipated.
ESEER 3D Live Wallpapers 1.2.00 is available now.