Prerequisites
You need .NET Framework 4.8 installed on your PC.
SOYN_assets.zip ( or you own assets )
1. Download the Creator
Download the Eseer Galileo – 3D Live Wallpaper Creator from:
👉 https://seerobs.com/3d-live-wallpaper-creator
Extract the ZIP anywhere.
All projects will automatically be stored in:
Documents/EseerGalileoDouble-click Eseer Galileo.exe to launch it.
2. Create Your Project
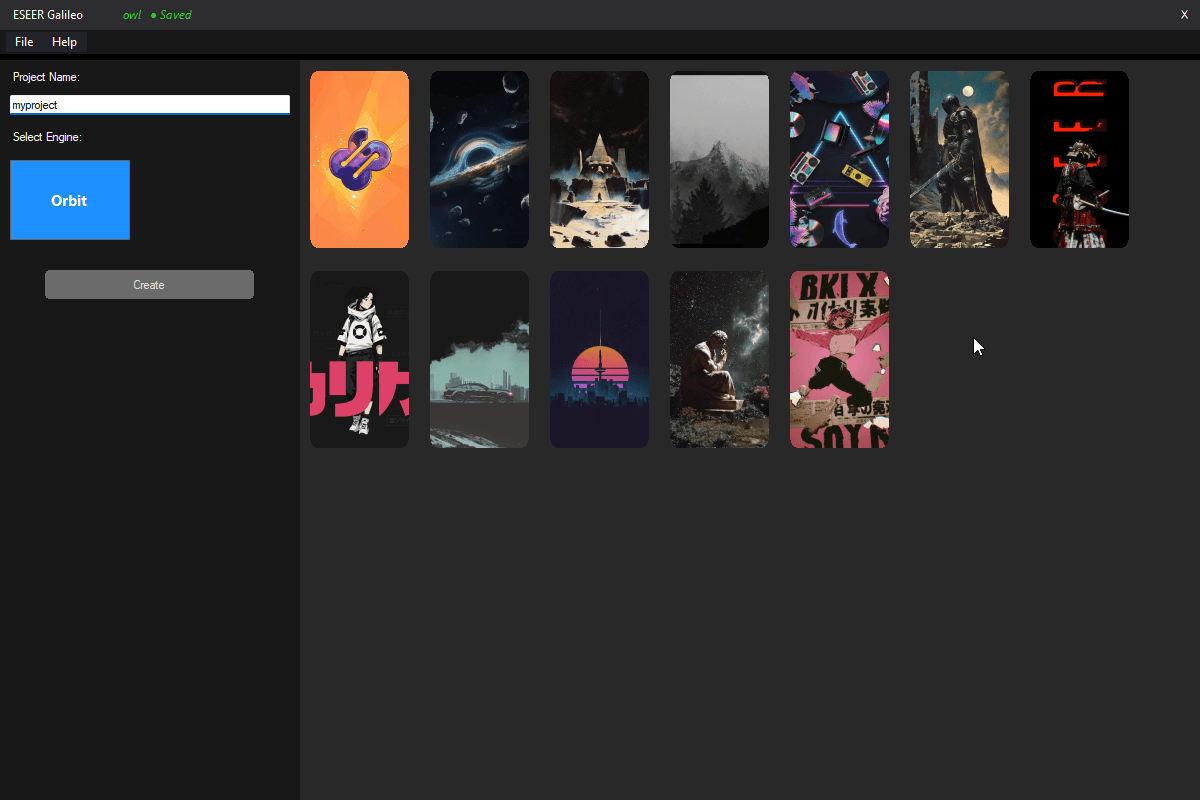
Enter a project name and select Orbit as the engine, then click "Create".
(At the moment only Orbit is available — more engines will come later!)
On the right panel you’ll see the list of all your saved projects.
Preparing Your Scene
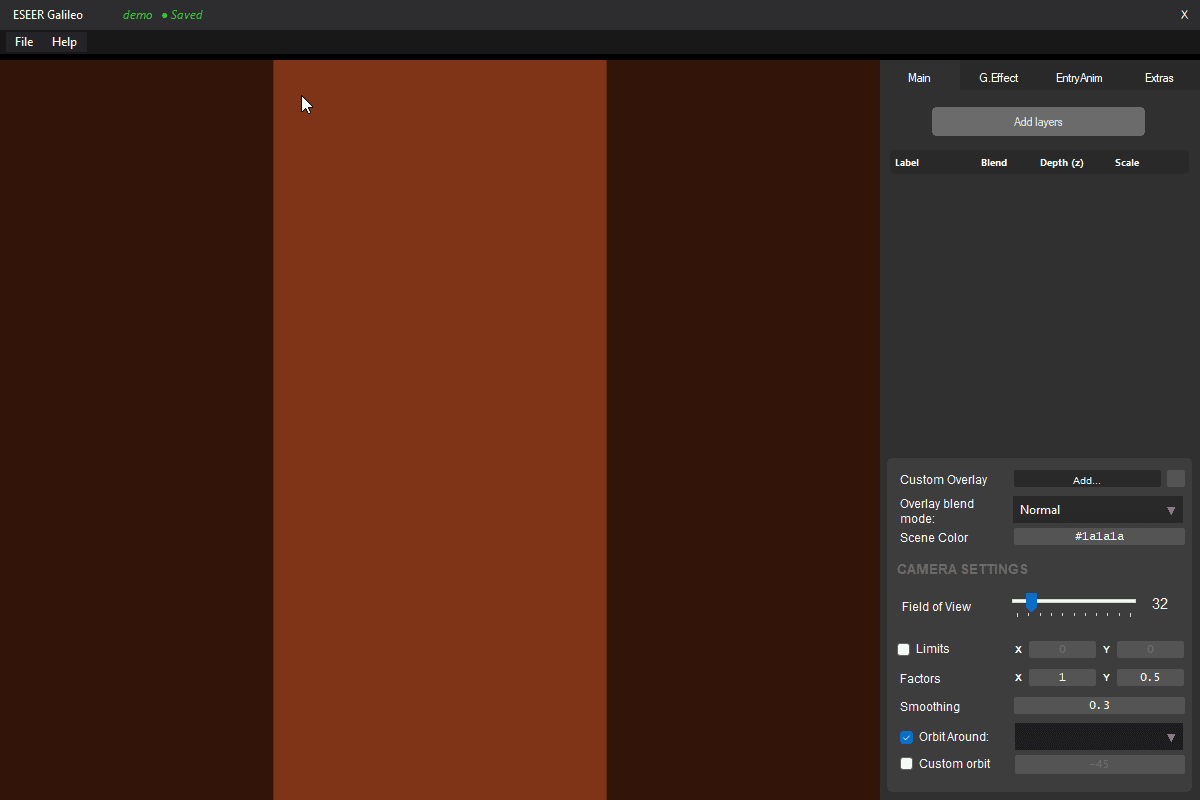
You now see the main workspace:
Left side: 3D preview of your wallpaper
Right side: tabs for Layers, Camera, Entry Animation, Extras
Add your first layer
Click Add Layer and select a square image.
For the tutorial, you can download a sample first layer.
📌 Important:
Layers should be added from farthest to closest.
So the first layer you add is the background ( in the asset folder it is gradient.webp ).
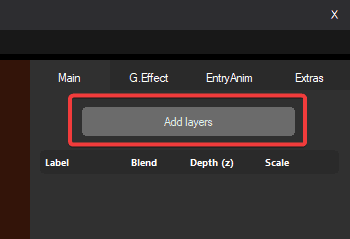
Image Requirements
Images must be square
Recommended size: 2500 × 2500 px
Supported formats: PNG and WEBP
If using PNGs, consider converting them to WEBP using:
https://towebp.app/
(WEBP keeps quality + transparency while drastically reducing file size)
Add all remaining layers
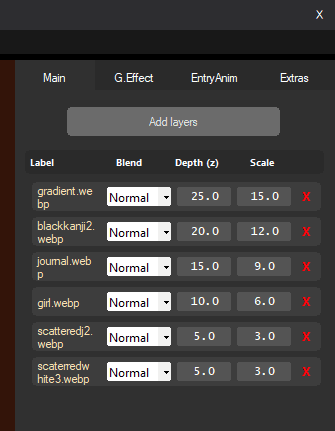
After all your layers are imported:
Hold left-click on the 3D preview and drag to test the orbit / parallax motion
Adjust scale, depth, and blending mode on each layer to your taste
Tweak camera & animation settings if needed
Exporting Your 3D Live Wallpaper
When your scene is ready:
Go to File → Create .es
Save the .es file somewhere you can find it
Transfer it to your phone (e.g., place it in the Download folder)
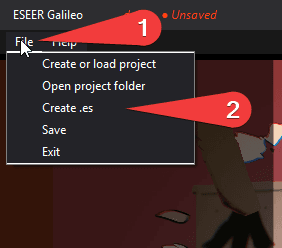
Then:
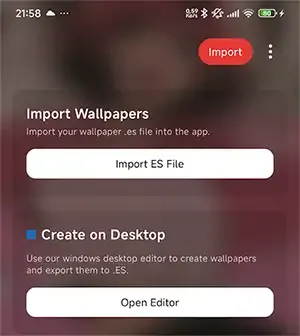
Open the Eseer Android app
Go to Import
Select your .es wallpaper file
Done — your wallpaper is now available and ready to apply!